Create and Manage Databases
This page describes how to create and manage a database using the kdb Insights Enterprise Web Interface.
kdb Insights databases are distributed time-series databases built upon kdb+. They enable you to manage and retrieve data through a tiered approach and leverage faster access mechanisms for real-time, recent data, while employing slower, cost-effective methods for historical data.
The following database setup and configuration options are available through the web interface:
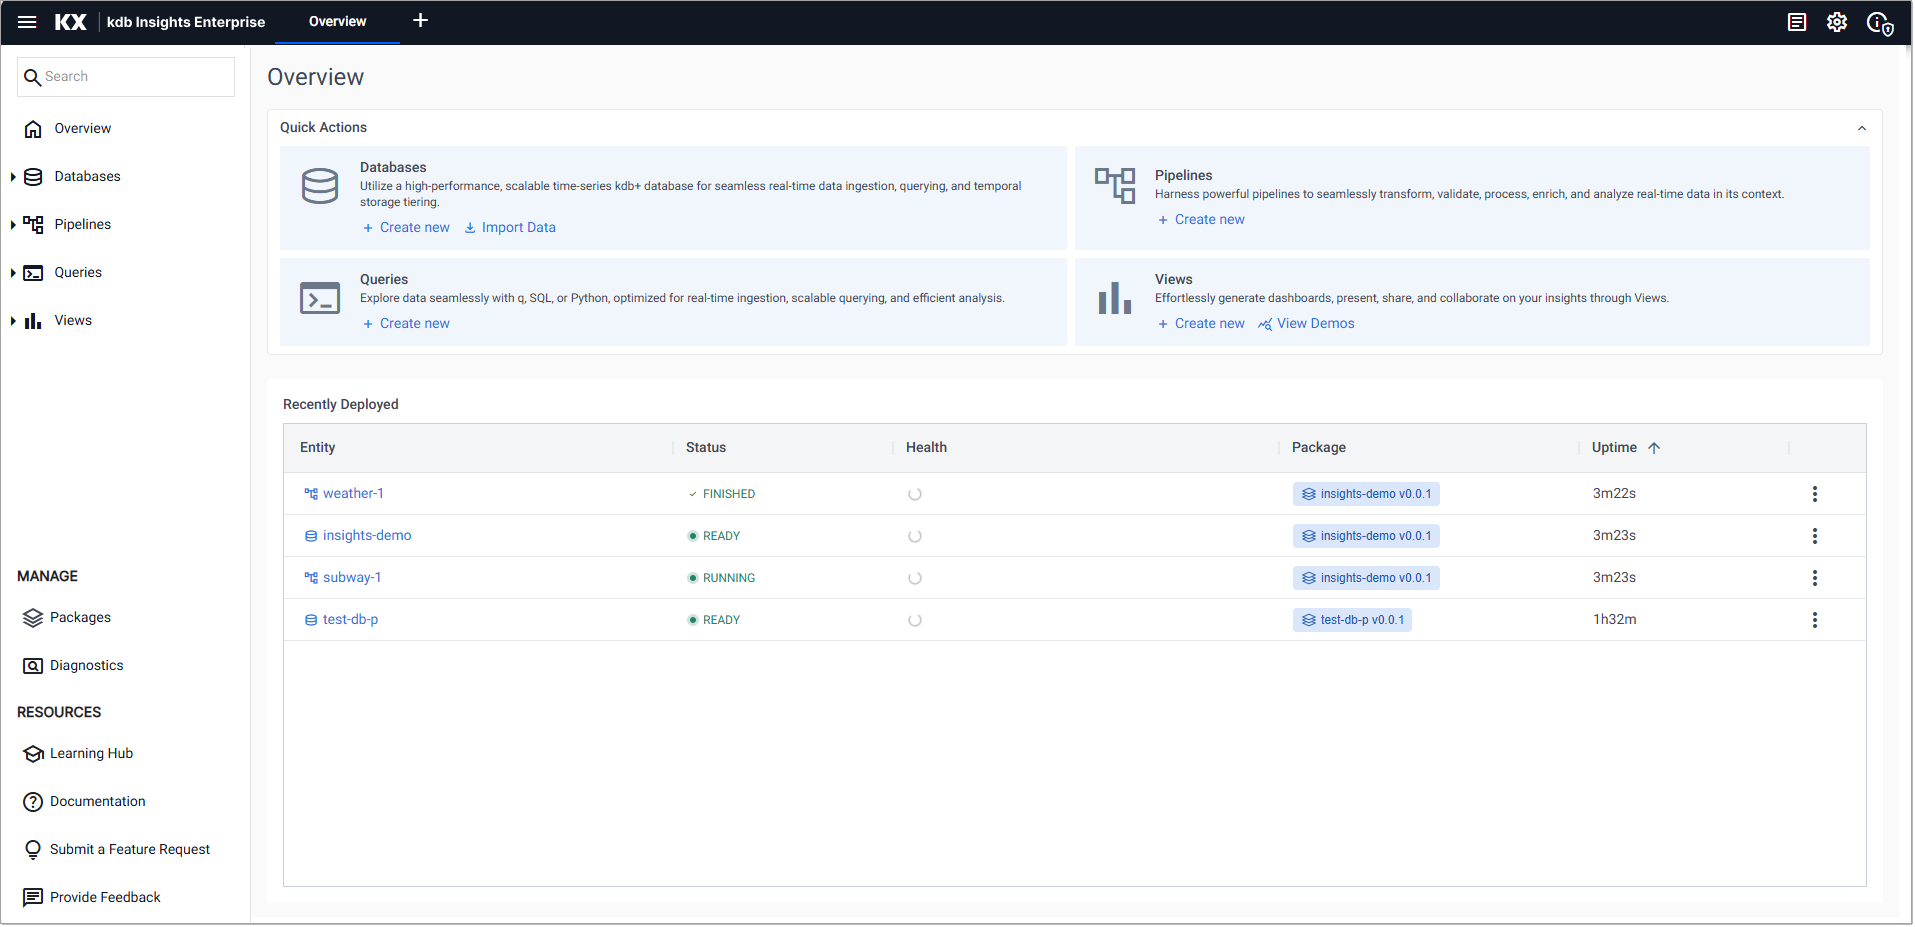
To view a summary of your database, go to the Overview tab.
Read kdb Insights Database Storage to learn more about data storage in kdb Insights Enterprise.
View index of databases
Click on Databases in the left-hand menu to view a list of all your databases and their current status, as well as information on the health and age of each database.
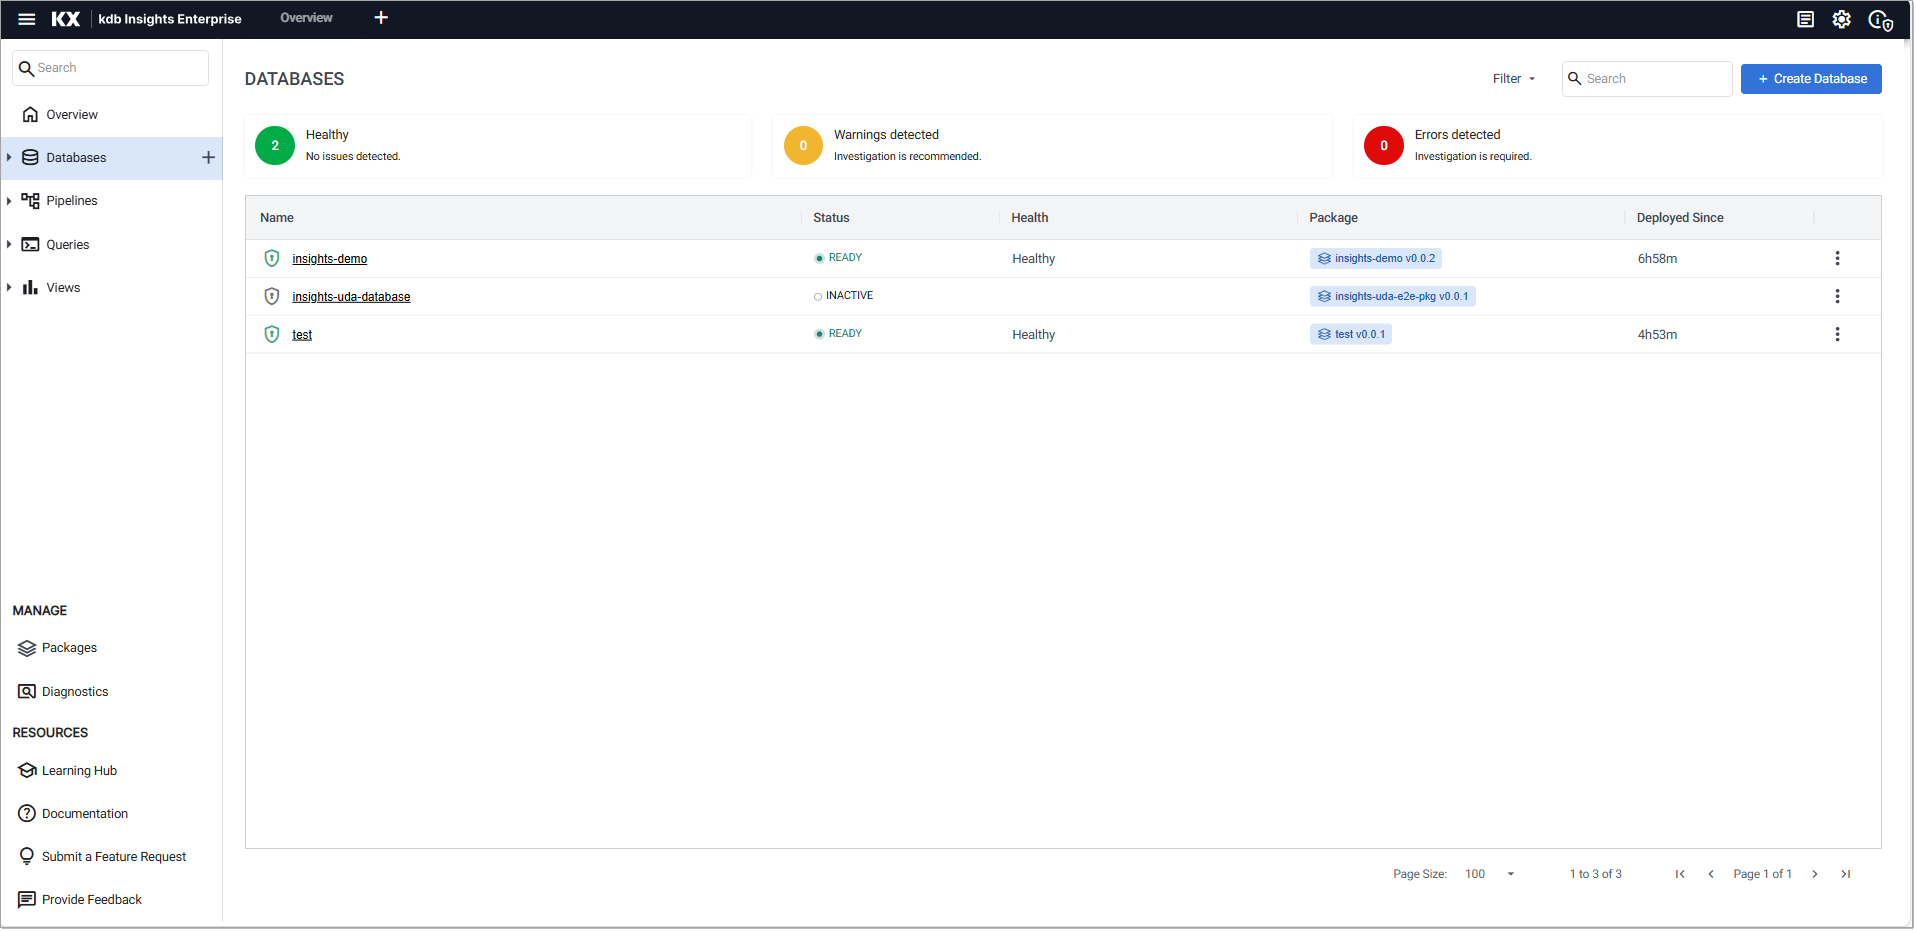
The following details are displayed:
|
Item |
Description |
|---|---|
|
Name |
The database name. Click on the name to go the Overview tab for the named database. |
|
Status |
The current status of your database. Hover over the status value for additional information. Refer to database status values for detailed explanations of these values. |
|
Health |
This column displays the health status of the deployed database. A value of Healthy indicates there are no reported issues with the database and is shown for status of Ready, Upgrading, and Getting Ready. When an error has been encountered a warning message is displayed indicating that attention is required. Refer to warnings and remediation actions for details about these errors and how they can be resolved. This column is blank if the database is not deployed. |
|
Package |
The package that includes this database. See packages for further details about packages. |
|
Deployed Singe |
The time since the database was last deployed. Hover over the time for a tool tip displaying the date and time the database was deployed. |
|
⋮ |
Click the three dots in the last column to view a list of database actions. These are similar to those displayed under Other Actions. |
Database status values
Each database has one of the following status values:
|
Status |
Description |
|---|---|
|
Draft |
The database is stored locally but has not been saved. |
|
Inactive |
The database is not deployed. |
|
Getting Ready |
The database is running but is not in a Ready state. |
|
Initializing |
The database is deployed and is starting up. |
|
Ready |
The database is deployed and ready to query. |
|
Upgrading |
The database is being upgraded. |
|
Errored |
The database deployment has encountered errors. Hover over the status icon to see the error. |
|
Warning |
The database has some health warnings. Review the health status for the database on the index page. |
Filter listings
The list of databases can be filtered by clicking one of the tiles above the listings. For example, click on Warnings Detected to refine the list to display only databases that have warnings. Click an additional tile to combine filters. For example click Warnings Detected and Errors Detected to get all databases with errors and warnings.
You can also filter the listing using the Status Filter drop-down located above the listing. The drop-down displays the statuses associated with the databases listed. All statuses are checked by default.
Create a new database
To create a new database:
-
Use one of the following methods to open the Schema Settings tab.
-
In the databases index page click Create Database
-
Click + next to the database name in the left-hand menu, or
-
Select Database from the menu displayed when you click + on the ribbon menu, or
-
Click Create new, under Databases in the Quick Actions panel, on the Overview page.
-
-
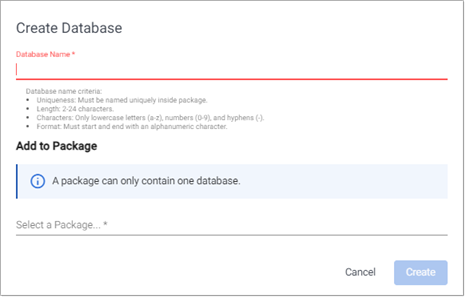
The Create Database dialog is displayed.
-
Enter a unique Database Name that is 2-32 characters long, uses lowercase letters, numbers, and hyphens, and starts and ends with an alphanumeric character.
-
Click Select a package under Add to Package to display the list of packages this database can be added to. Note that a package can only contain one database. Therefore, packages that already contain packages are not selectable.
Or click Create new package at the end of the list to add the database to a new package.
See packages for further details about packages.
-
Click Create.
The Databases screen is displayed with the Schema Settings tab selected by default.
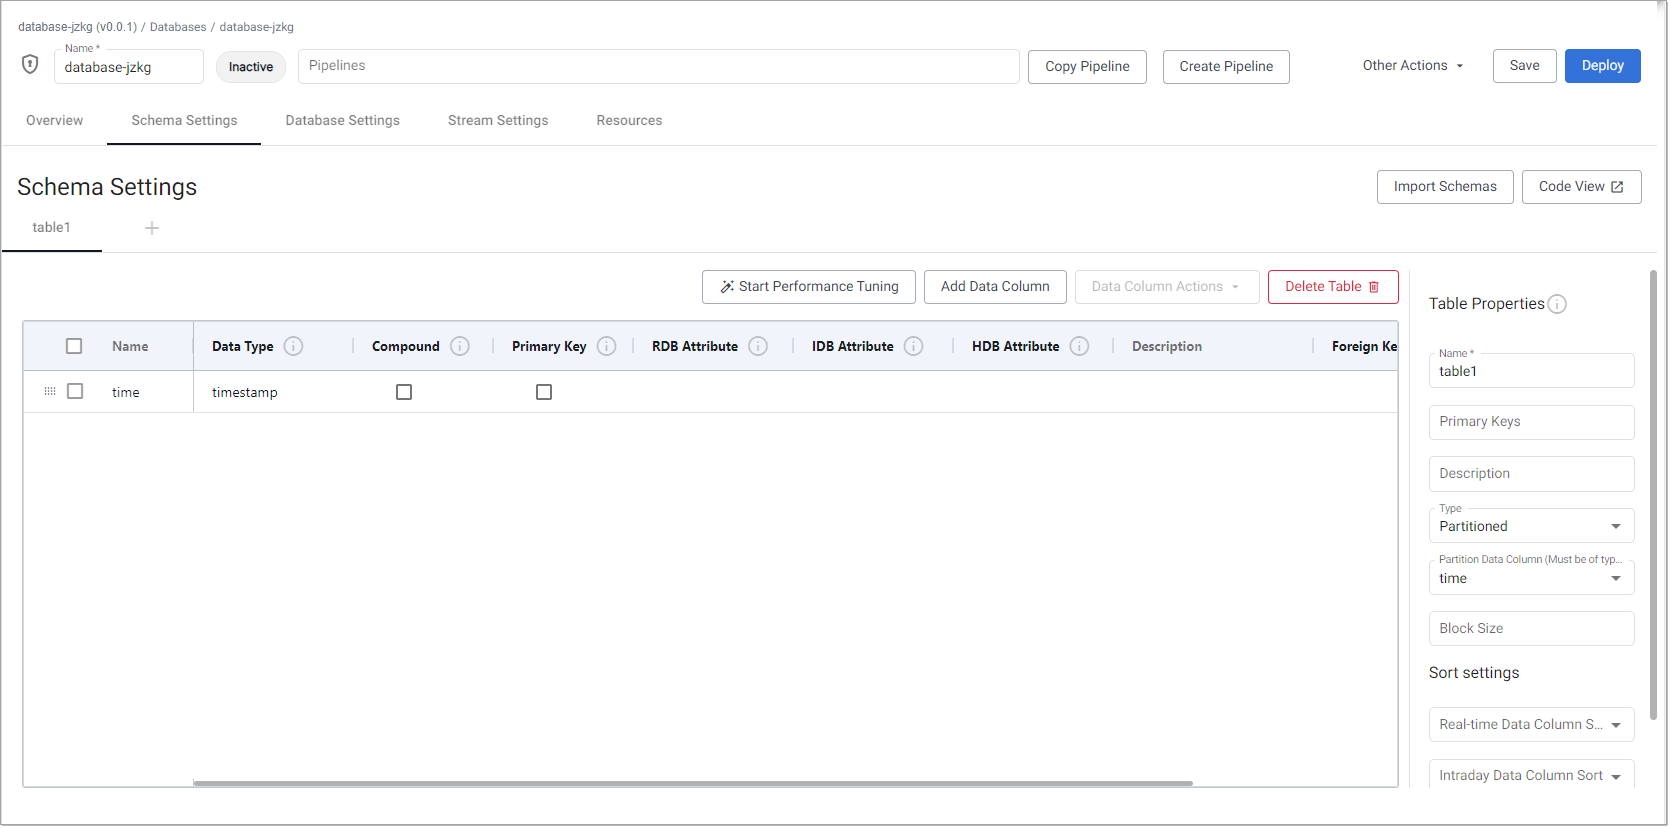
The top of the databases screen displays the following:
item
description
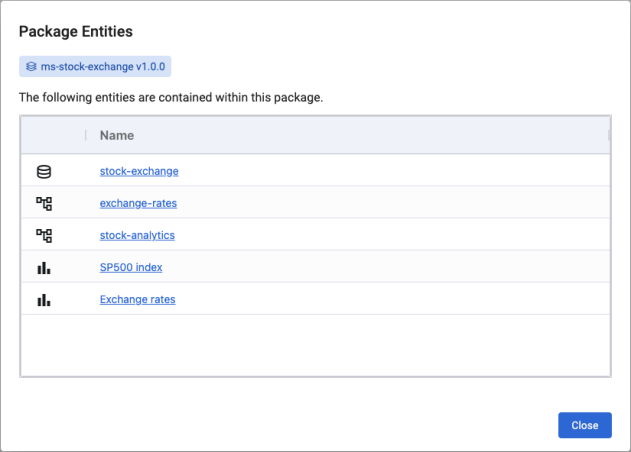
Package Name
The top left-hand corner of the tab has the name of the package containing this database. Click on the package name to open the Package Entities dialog, which lists all the entities in this package.
Encryption status icon
This icon indicates whether the database is encrypted or not. It is only available when a database is deployed. Refer to Encryption for further details.
Name
The name of the database. When you create a new database a system generated name is displayed. Select this to rename it. The new name is validated to be 2-24 characters in length, contain only lowercase letters, numbers and hyphens, and start and end with an alphanumeric character.
Status icon
This shows the current status of your database. Refer to database status values for more information. If the new name does not meet these criteria the Save option is disabled.
Pipelines
The name of any pipelines associated with this database. Click Create Pipeline to create a new pipeline and associate it with this database.
Copy Pipeline
Click to copy a pipeline into the same package as the database.
Create Pipeline
Click to create a new pipeline.
Save
Click to save the database without deploying it.
Deploy
Click to deploy the database.
Other Actions
Click to open a menu of other options.
A banner area above the tabs, described below, is used when there is information to display about the following types of database activity:
-
Progress indicator for encryption and decryption.
-
Batch ingest status indicator, shown when data is written directly to the HDB. See batch ingest banner messages for details.
The database screen is laid out in a set of tabs:
-
Overview - View a summary of your database configuration and metrics.
-
Schema Settings - Configure your database schema. It's recommended that you start here.
-
Database Settings - Configure your database settings.
-
Stream Settings - Configure stream settings for your database.
-
Resources - Configure resources for your database.
-
-
Configure the settings using the tabs above.
-
Click Save.
-
Once saved, the database can be deployed to activate it.
Database Overview
The Overview tab provides an overview of the configuration and status of your database along with metrics which help you monitor the resources being used by your database.
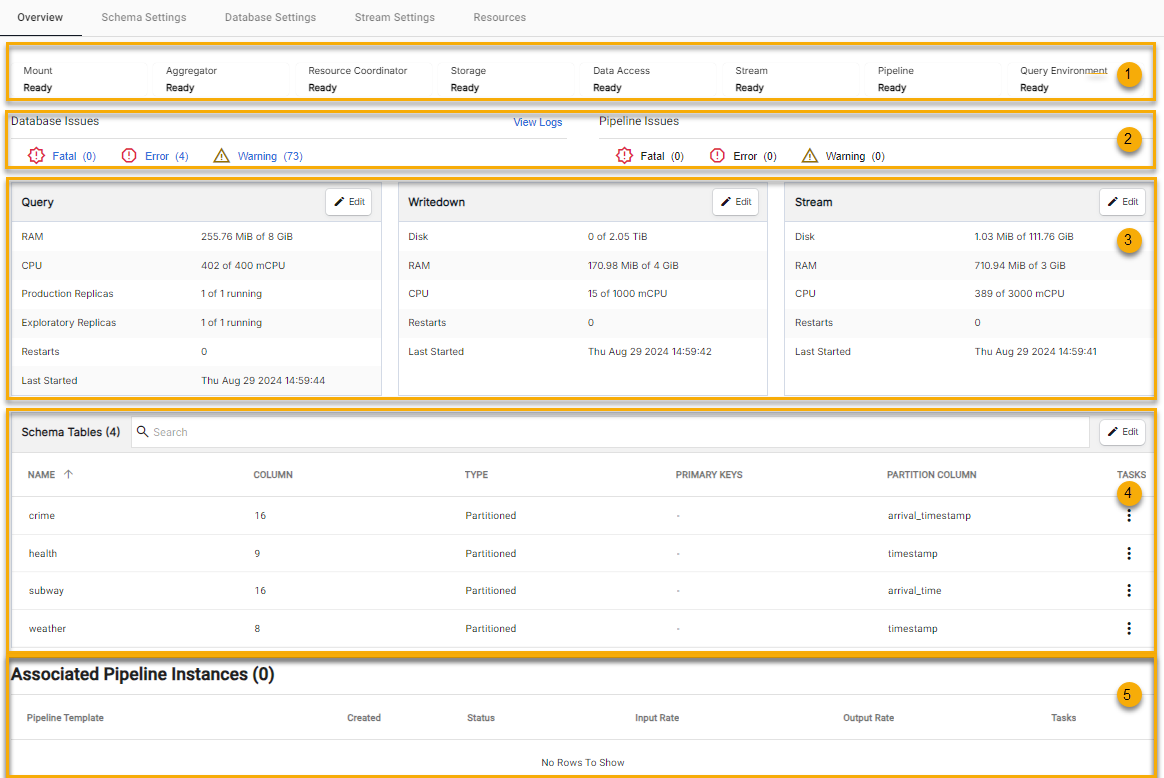
This screen has the following sections, highlighted in the screenshot above.
-
Database component status - This is only displayed for deployed databases.
-
Database and Pipeline Issues - Summary of database and pipeline issues.
-
Database metrics - Metrics on your database. Click Edit to configure the database resources.
-
Schema Tables - An overview of your schema tables. Click Edit to configure the schema.
-
Associated Pipeline Instances. Information on associated pipelines including details about their status, input and output rate.
Database component status
For any deployed database the top section of the Overview tab displays the status of the database components.
Refer to Deploying a database for details on each of the components.
Database and Pipeline Issues
This section of the Database Overview tab gives an overall view of the system health for both pipelines and the database.
-
Database Issues - Provides links to Application Logs for your database. Click View all Logs for an unfiltered list of logs, otherwise click to Fatal, Error or Warning to view logs filtered by these issue types.
-
Pipeline Issues - Provides links to Application Logs for your pipeline. Click View all Logs for an unfiltered list of logs, otherwise click Fatal, Error, or Warning to view logs filtered by these issue types.
Database metrics
This section of the Database Overview tab provides metrics about your database. This information alerts you if the database is reaching its limit so that you can take action.
-
Query - This section contains metrics for RAM, CPU and Replicas as well as the number of restarts and the date and time of the last start for the query process. Refer to query resources for further details.
-
Writedown - This section contains metrics for Disk, RAM and CPU as well as the number of restarts and the date and time of the last start for the writedown process. Refer to writedown resources for further details.
-
Stream - This section contains metrics for RAM, CPU and Replicas as well as the number of restarts and the date and time of the last start for the stream process. Refer to stream resources for further details.
Batch ingest banner messages
A batch ingest writes data directly to the HDB. For more details see kdb Insights Database writer. During a batch ingest, a progress indicator is displayed in the banner area above the database tabs, updating as the ingest progresses. These banner messages indicate the status of the ingest, which is pending, queued, processing, complete, or error. Two example banner messages are shown below.


Copy a Pipeline
You can duplicate an existing pipeline and add it to your database package.
-
Click Copy Pipeline, in the top of the Databases window to open the Copy Pipeline into [package-name] dialog.

-
Click Select a Pipeline and select a pipeline from the drop-down. This lists all the pipelines regardless of their status.
-
Click Copy. The pipelines screen opens with the new pipeline. You can rename and modify the pipeline from here.
-
Navigate back to your database tab to see the new pipeline in the Pipelines field at the top of the screen.
-
Click on the package name at the top of the screen to open the Package Entities.
Save a database
To save a database, rename the default name if required and click Save. Your database is saved but not deployed. You must deploy your database to activate it.
Deploy a database
To activate a database it must be deployed. An active database is used to store data and is a requirement for working with data outside of testing. An active database shows a green circle with a tick next to its name in the left-hand entity tree list under Databases and it has a status of Ready.
Other Actions
To open the actions menu, use one of the the following methods:
-
Click the three dots next to the database name in the left-hand menu. The options displayed vary depending on the state of the database.
-
Click the database name in the left-hand menu to open the database screen, then click Other Actions.
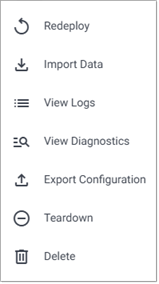
For an active database, the menu appears as follows.
For an inactive database, the menu appears as follows.
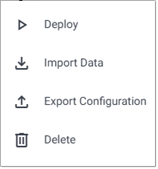
The Other Actions menu has the following options:
|
Action |
Description |
|---|---|
|
Redeploy the database |
|
|
View diagnostics information about the database. |
|
|
Export the database configuration to a yaml file. |
|
|
Open the import wizard to create a pipeline to ingest data. |
|
|
Stop the running database. |
|
|
Delete all data associated with this database. This option is only shown after a database has been torn down. |
|
|
Delete the database. |
Export Configuration
To export a database:
-
Click on the three dots beside the database name in the left-hand menu, or click on the database name in the left-hand menu to open the database screen, and click Other Actions.
-
Click Export Configuration.
Export converts the database to a YAML configuration file.
Information
Although exporting databases to yaml files is supported, it is recommended to use Package Export if you want to export your database(s).
Delete a database
To delete a database:
-
Click on the three dots beside the database name in the left-hand menu, or click on the database name in the left-hand menu to open the database screen, and click Other Actions.
-
Click Delete.
-
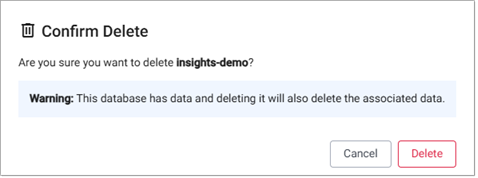
Confirm the delete request:
For an inactive database click Delete on the confirmation message displayed.
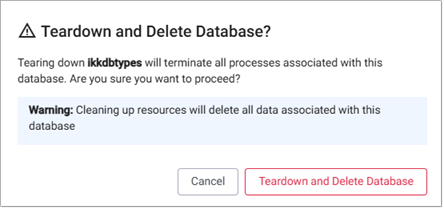
A deployed database must be torn-down before it can be deleted. In this case you must click Teardown and delete database if you want to proceed.